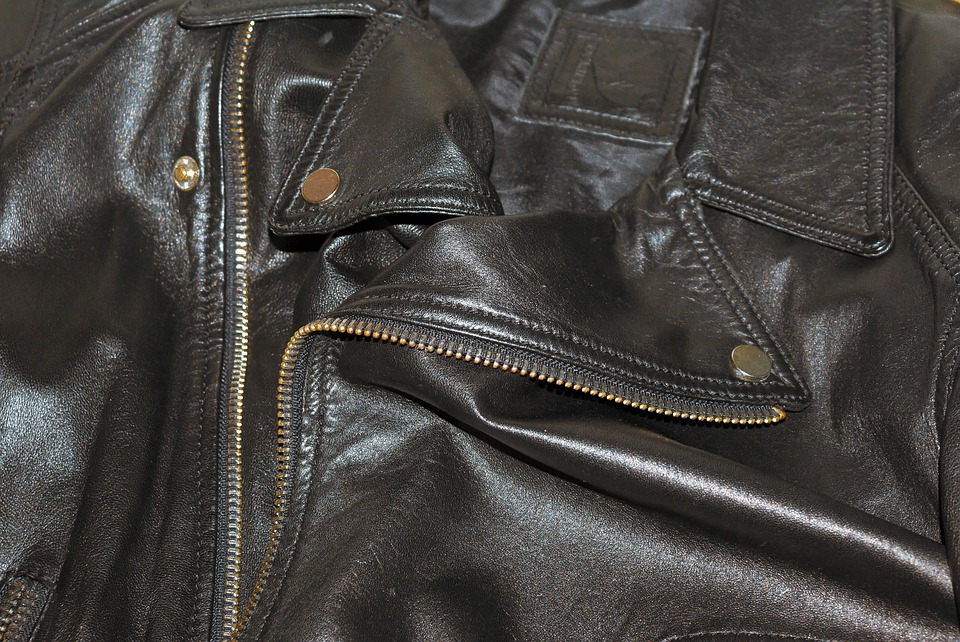
From jackets and pants to shoes, handbags, belts, furniture upholstery and more, leather is used to make countless everyday items. There’s a good reason for its popularity: leather offers the perfect balance of style, comfort, strength and versatility. While other materials may have some of these features, they typically don’t have all of them.
But turning animal hide into a ready-to-use piece of leather isn’t easy. Leather workers have perfected the process of creating leather over the course of hundreds of years. To learn more about leather and how it’s made, keep reading. In this post, we’re going to explore the steps to creating leather.
Sourcing the Animal Skin
The first step in creating leather is sourcing the animal skin. By definition, leather is a type of material that’s made from processed animal skin. As you may already know, the most common type of animal from which leather is sourced is cows. Cow skin leather is strong and durable, making it ideal for use in the production of leather. With that said, leather may come from other animals as well, including deer, sheep, lamb, ostriches and even kangaroos.
Napa leather, for instance, is often made from sheepskin. Emanuel Manasse coined the term “Napa leather” while working for the Sawyer Tanning Company during the mid-to-late 1800s. According to Manasse, Napa leather offers a softer texture than other types of leather through the use of tanning agents like alum salts. Today, Napa leather is prized for its superior quality and attention to detail.
Preparation
Once the animal skin has been sourced, workers prepare it for the tanning process. Being that different leather workers use different techniques to produce their leather, there’s no single “right” way to prepare it. However, somme preparation techniques include soaking the animal skin in a special mixture of compounds to dehydrate it, splitting the skin, degreasing and bleaching.
This stage is critical to the finished leather’s overall quality. Leather workers who neglect to adequately prepare their animal skin will likely create low-quality leather that lacks the attractive qualities and characteristics that make this material so popular. Therefore, most experienced leather workers take their time when preparing the animal skin from tanning.

Tanning
After the animal skin has been prepared, it undergoes the tanning process. Tanning involves the use of special chemicals to turn animal skin into usable leather. Without tanning, animal skin would likely decompose or experience other structural changes. This is easily avoided, however, through tanning.
It’s called “tanning” because the process originally used an acidic chemical compound known as tannin. It wasn’t until the Industrial Revolution when leather workers began using chromium as an alternative to tannin. It’s safe to safe chromium proved effective for the purpose of tanning, as it’s now the preferred choice of chemical for nearly all seasoned leather workers.
During tanning, the animal skin is submerged in the tanning agent (e.g. chromium) and left to sit for a specific length of time. Some leather workers place the hides in drums that constantly rotate to ensure the tanning agent is properly soaked throughout the material. Others, however, simply place the animal hide in a bucket where the tanning agent gradually works its way into the material. When chromium is used, the animal skin turns to a pale blue color. Leather workers refer to this change as “wet blue.”
Checking the pH
Leather workers must pay close attention to the hides’ pH level during tanning. The pH level reflects the hides’ acidity or alkalinity. If it’s too acidic, the material may break down or otherwise fall apart. If it’s too alkaline, it may decompose. Therefore, must leather workers strive for a pH level between 2.8 and 3.2. This offers a proper balance where the material isn’t too acidic, nor is it too alkaline. If the pH level falls outside of this range, the worker may add other chemicals to adjust it.
Surface Coating
While not always performed when creating leather, some workers add a surface coating to their leather. This process, known as finishing, is intended to enhance the leather’s appearance and/or structural integrity. A worker, for instance, may, add an oil coating over the leather to protect it from dehydration. After tanning, leather has virtually no moisture content. That’s a good thing because moisture contributes to decay, thus shortening the material’s lifespan. But without moisture, leather may dry out and even crack. This is why some workers add a surface coating of oil to their leather.
Enzyme
Another optional step in the production of leather involves the use of enzymes. Some leather workers use enzymes like lipases or amylases to achieve a more desirable finished product. These enzymes are often added during the early stages of tanning, allowing the enzymes to soak into the material. It’s important to note, however, that enzymes can only be used if they don’t damage the leather’s collagen or keratin. If the collagen or keratin is damaged, leather becomes weak and susceptible to damage.
Quality Matters
Finally, the quality of the finished leather product will determine its classification. Full-grain leather, for instance, is considered the highest quality type of leather on the market. It’s characterized by an entire grain without the removal of any surface material. If the worker has to remove part of the surface during production, he or she cannot sell it as full-grain leather. There are times when a worker may correct the grain of leather during its production. Known as corrected grain leather, it’s a lower quality type of leather. Because of this, corrected-grain leather is often used in the production of shoes and belts, whereas full-grain leather is used to make high-end apparel like jackets and pants.
The Bottom Line
As you can see, a lot of work goes into making leather. Creating leather isn’t as simple as sourcing animal hide and allowing it to dry. Skilled workers must carefully tan and process the material before it can be sold or used.

